 Google Safe
 EN
EN
 FR
FR DE
DE NL
NL ES
ES IT
IT PT
PT Game Giveaways
 D2R Boss Drops

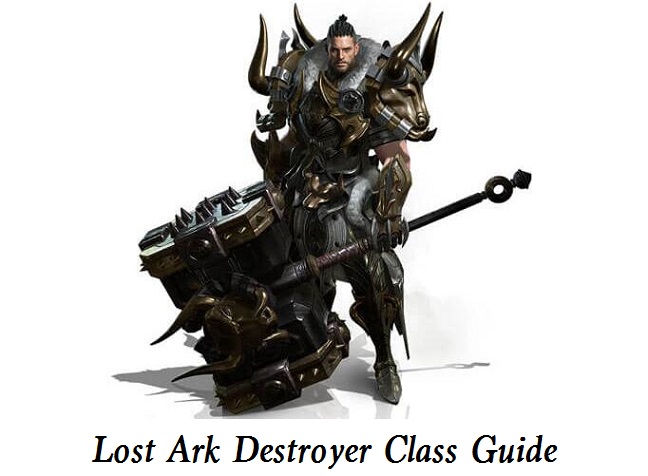
Lost Ark Destroyer Starter Guide 2022 - Builds, Awakenings, Stagger, Counter & How To Play Destroyer Class
2022/5/19 11:13:17
In this guide, we're going to introduce the brand new destroyer class coming to western Lost Ark. We will cover everything from how to play Destroyer, some tips and tricks and two destroyer starter builds including tripods, stat distribution and engravings. If you're starting your journey as a destroyer in Lost Ark, then you’ve come to the right place!
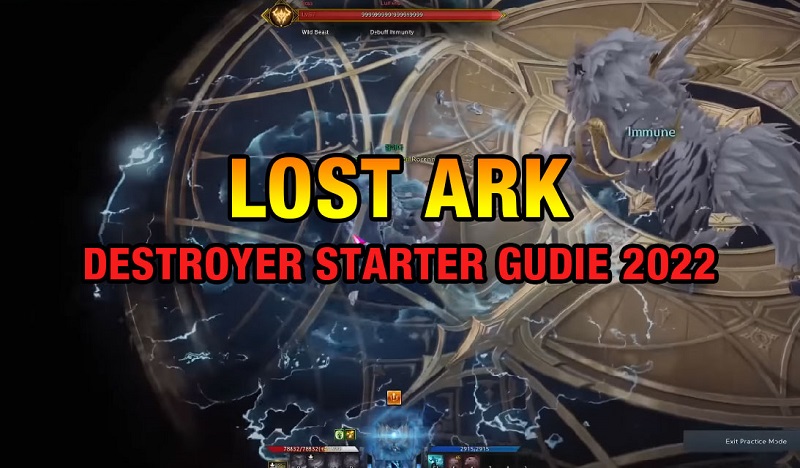
Lost Ark Destroyer Starter Guide 2022: Builds, Awakenings, Stagger, Counter & How To Get Started With Destroyer
Destroyer Overview - Playstyle and Mechanics of Destroyer
Destroyer is a warrior, so they're one of the slowest classes in the game but there are a lot of ways that they can counteract this. If you look at their skill book, you'll see there's two different colored abilities, the purple and the blue and you can look at these as builders and spenders. The builders or your concentration skills, blue abilities will build up your gravity cores, you can consume these gravity cores to make your gravity release skills, the purple abilities much better in various ways usually with scaling damage. As you build up these gravity cores and then spend them, it will fill your passive meter and hyper gravity meter and once that is full, you can enter into hyper gravity mode. You'll activate it, it'll give you a big shield and start draining the meter and then you have two options when you're in this mode. You can either use the vortex which isn't really used for damage on bosses and is great for chaos dungeons, you'll slam it down and it'll suck some mobs in. The other option is far more common where you can start auto attacking, the longer you do this, the more damage it does and the faster it goes which will increase your damage output. One of the class engravings goes off of this hyper gravity mode to increase the damage done which is probably one of the most hilarious abilities in the game.
Awakenings for Destroyer
You have two awakenings to choose from:
Big Bang: It's probably the one that gets used the most in almost all content. Mostly because it's very reliable, you can put the damage exactly where you want it, you'll activate it and as long as you hold it down, you'll start charging, you can move a little bit and then when you release it will release the big bang explode. Not only do you have debuff immunity and super armor like you do with all awakenings, but you also have parts destruction and stagger on this one. Another reason why destroyer is so good at stagger is they have an awakening that will deal it.
Terra Break: You'll start to slam the hammer, create the fissure and then charge your hammer and slam and deal damage in an area. One cool effect of the terra break is that it does fill your identity gauge when you use it, so it's super useful for the gravity training engraving build because you can activate it. If you're playing with the rage hammer build, you may still want to go with the big bang because it's more reliable as this animation is quite lengthy and it does have a little bit harder aim to it as it kind of the build up, and then the big bang has the benefits of having the parts destruction, the weak point and the fact that you can move while doing it.
Stagger for Destroyer
Almost everything you do has stagger, but the big ones are going to be typically your full swing which is one of your gravity release spenders and then earth eater which is another gravity release spender. These have very high stagger and you can use them for stagger. In many cases, you'll see people running the overwhelm, rune on full swing or earth eater, just get that extra bit of stagger on it. Your other spenders, your purple will still have high stagger on them, but you may be using those for damage more often than for the stagger breaks. As with many of the other heavy classes there is an armored down synergy.
Counter for Destroyer
There are two counters in the destroyer kit that are used regularly, which one you choose is up to you depends on what your build is.
Dreadnought: It's a little bit of a wind up which got that donk and both of those hits should apply the counter, but it's super useful for the counter attack, you just need to be in front of the boss, use that bong funk and then you'll get that counter there.
Power Strike: Some people like using this as their counter as well, this comes out a little bit quicker and plays out a little bit longer, so it's nice to get in front of the boss and then use the counter this way and you'll notice that power strike also has an armored down synergy on it as well. So if you don't run the synergy, run on jumping smash, you can run power strike as your counter and get the armor down as an alternative option.
Destroyer Starter Builds In Lost Ark
There are two different builds based on the class engravings that you might be running. We'll cover the tripods, the stat distribution, the engravings and some general tips for gameplay.
There are two class engravings for the destroyer, gravity training and rage hammer.
Rage Hammer: It gives you crit rate and crit damage for every core that you consume. So all the way up to 45% crit damage and 15% crit rate, so it just makes your purple skills so much stronger and this by far is the most popular and the most reliable build for destroyer.
Gravity Trailing: This focuses on your identity, so this one will make you a lot more effective in getting to your hyper gravity state and then also spending it. Like shock training scrapper, it'll give you a passive regeneration, 2% per second on your gravity gauge, you can get into hypergravity sooner and once you're in the hyper gravity state, it gives you 30% increase critical strike chance and bonus damage as well.
Rage Hammer Build For Destroyer
It focuses on giving you crit rate and crit damage when you consume gravity cores for your spenders. This is just a recommendation build to get you started, there are a lot of variations in every class depending on the content you're doing, the tripods that you need for that specific encounter, so feel free to edit this as you like, but if you're someone who's coming in without much knowledge and you just want a starter build, this is a great and well-balanced build for the rage hammer destroyer.
Recommended Runes, Gems, Tripods:
Heavy Crush
Jumping Smash
Dreadnaught
Endure Pain
Perfect Swing
Full Swing
Seismic Hammer
Earth Eater
You'll be running with four builders and four spenders and with the recent balance change to destroyer in Korea, they made it a lot more fluid, so that your jumping smash and your dreadnought in this build will give you two cores when you hit with them which is much better than the one sometimes two that you used to get. Then you'll use heavy crush as your short cool down one core builder, so all you have to do is use either jumping smash or dreadnought and then finish with a heavy crush or vice versa and then that'll give you three cores you can spend on one of your four purple abilities. Endure pain also taunts, you can use it to interrupt boss patterns, but it also will give you a full three course when it hits the target.
The most important is going to be how you use your four spenders, starting with perfect swing, this one has a good wind-up on. When you activate it, you'll wind up, if there's nothing in your way, you'll move forward and swing and deal damage. If there is something blocking your path, you'll just run right into them and swing. There's actually a unique destroyer mechanic that if you hit them at the right distance, you'll get an extra little reward for it, but this is going to be your big spender that gets you all the way stacked up, gets you a bunch of damage and it does have front attack and back attack on it. The tripod that we have in this build for a full swing is going to be the terrifying hammer here. Every time you hit with the initial swing the last swing increases in damage so what you can do with this is let's get some gravity cores here.
The next spender is earth eater, you'll wind up slam into the ground and then you'll after a short delay when you fully wind up, you'll slam down to the ground and create two, you'll see the target, the smaller indent and then the larger indent further away. And what's useful about this ability is it has a very wide range to it and it does have high stagger and parts destruction or weak point and you do want to try and hit it in the second crater, the second indent because it will give you more damage and a higher stagger, so you get at just the right distance, charge it up and then if you hit them within the second one, you'll get a double hit there and you also get higher stagger out of that, so just make sure you're positioning yourself at the right distance.
Lastly, your last spender in this build is seismic hammer, dunk your hammer down a shockwave will come out and then you'll hit them with this little ring on the outside which is great at all distances. This one actually does have back attack and front attack on it, the front attack and back attack modifiers are different, back attack gives you print and damage and then head attack gives you a lot more damage, back attack plus extra stagger.
Gravity Training Build For Destroyer
This build is very unique in how it plays and how it compares to the other builds in the game. So let's talk about what makes it different and why.
This build focuses on your hyper gravity mode, the differences are not going to be in the abilities, you can run the exact same build we talked about for rage hammer, but your stats are going to be very different and so will your engravings. There'll be some differences you may want to get five of the builders and then three spenders, but it plays the same outside of hyper gravity mode. You have two options for stat distribution on this one.
The first is going to be the highest risk, one of the most hilarious gigachad builds in the entire game and that's going to be 75 specialization and 25 crit and you're just going all in on the bam bam with the stat distribution, and you'll start seeing some ridiculous numbers with your hyper gravity, if you're on this build just know that it is a little bit riskier. But if you want to play it on the safer side, you can run with a 55 endurance and 45 swiftness or 50 endurance on and swiftness and the big thing is that you're just wanting to get damage reduction, shielding effect healing and then a little bit of swiftness from movement speed because you're going to be trying to maximize the amount of time that you spend in front of the boss, bonking them in the face as hard as you possibly can, and the big thing here is that the longer you do this the faster you go, the more damage you'll deal, so you're trying to just make sure that you can stay on the boss for as long as possible.
With this build, you often see people running the terra break just so you can fill meter and get right back into your hyper gravity mode. So you'll activate this, you'll get your meter, then you can activate and you'll start spending this. You'll just start bonking getting the front attack on the auto attacks here.
Engravings
Gravity Training: It gives you the extra regeneration for your meter plus extra crit and damage when you're in hyper gravity mode, but then a bunch of defensive engravings to make sure you can stay on top of the bus or the target for as long as humanly possible.
Indomitable Will: It will reduce the damage taken when you are pushed things like fortitude.
Unyielding: It reduces the damage you receive based on how big of a hit was.
Enhanced Shield: It will make you immune to all abnormal statuses while you have the shield up but it reduces the effectiveness of the shield.
So because when you activate your passive here, you do get a shield initially and then you can use this to get the enhanced shield effect which means that you can't really be interrupted while you're doing this. You can run spirit absorption for extra animation speed attack speed on your abilities and movement speed to move around and get into the right position to use your hyper gravity mode. These defensive engravings are useful for the gravity training build for very difficult content, but if you find that you are either over gearing or not needing it, you can start working in some damage engravings to make the bonk bonk even stronger. Just note that starting with legion commanders on bolton and going forward, you will be punished heavily for standing still as any class, but destroyer as well. So if you're going on bongbong town, you're gonna get punished for it, so these engravings that are very defensive are trying to take that into account so that you can stand still as long as possible without getting interrupted or cur or killed.
Alternate Abilities of Destroyer
In some cases, if you find that you're having trouble, spending all four of your spenders, you can play a five builder three spender build and many people do this. In this case, they will remove usually earth eater out of the build and then we'll work in alternate builder options like power shoulder, this one just gives you a little bit more forward dash there which is very useful, does good damage and it's very common as well.
Power strike is an alternate for your counter if you did not like using dreadnought here, so powerstrike can give you an option for synergy and an option for countering. Especially if you're running with the gravity training build, you can also work in running crash which is a way to just get some distance, it's like the gun lancer charge but you can at least get some good distance out of this to reposition or what some people will do is they'll use it to get the bong punk and then when they're out of energy and they exit the bunk bunk, then they can jump out and get out of dodge very quickly. So that they're not in danger of being hit by a mechanic of some kind. In some cases especially in chaos dungeons, you can also run with gravity impact. You'll slam, you'll suck them in and you'll hit them and the reason why it's super good is you can actually get some good tripods on this one but it's useful for pulling in mobs especially in chaos dungeons.

Game Giveaways

Lost Ark Related News